Incredible inedibles, and other unique creations all from my own designs and patterns.
Tuesday, 2 October 2012
Rags to Riches....... completed!
My rug is finished, and I'm so happy with it. Here it is placed in front of the living room fireplace, ( just so I could get a decent picture) the light was quite dull.
..the finished size is approximately 27" x 22", that's plenty big enough to fit into my little room. Here's how I finished it off.
First of all I decided (whilst I was still making the rug) to keep back half of the white and black fabric, as I'd had an idea for another project. So in the end I used all the striped tee shirting in its place. Once it was all finished I checked both sides to see if it was straight. I did this whilst it was still on the frame...
...better to check it now, before I released it.....
...as you can see, I didn't work in straight lines.it doesn't matter in the slightest.
It was okay from the front too....
...there were just one or two pieces which I had to trim to size.
The next thing was to release it from it's frame. I used one of these...
....mine came with the stapler. It wasn't an expensive one, I bought it from Aldi early last year, a great buy at a great price. Once released from the frame I trimmed all around the rug leaving about three inches to turn and stitch.
...as you can see from the picture above, there would have been far too much hessian to fold if I'd left it.
Once trimmed I then folded over about half an inch and then folded over again, making sure that my fold was close to the rug edge, (I didn't want any hessian showing from the front) then pinned into place.
Now to stitch into place and to do this I used 4 ply cotton. I do have some fine string ( 4 ply thickness) which was my mums. It was once a huge cone, and she and my dad used it for everything. Mum gave it to me when she no longer used it and there was about half a cone left. I can't find where I've put it, (I've been sorting out I can't find anything) so this was at hand....
...I used it double thickness, and this helps keep the fold into place.
...I laid it flat on my desk to sew, which works better for me as I have arthritis in my fingers and sometimes gripping can be awkward....
....
....I'd got about 8" along when I decided to change my needle. I have a tin with specialist needles in, and I have one of these, I know it as a packing needle...
... it's curved with a flat section and it made it so much easier. I know I could have used latex glue, many people do. But this is the way I was taught to do it, and I'm happy doing it this way.
Once all the edges were sewn down I gave it another check.....
...yes, I was very happy with it. Now, if I was going to use it over a fitted carpet I wouldn't use non slip backing, but as it's going to be laid on vinyl flooring I shall.I don't fancy skating across the room! This is what I will use...
...I've actually bought this for another project, ( place mats) but theres enough on the roll for me to cut a few squares off and stitch them to the back of the rug. It's a good mesh fabric so should be easy....
....the whole roll only cost £1, a bargain. My mum used to use the used seals from Kilner jars for the backing on her rugs. She would stick them on with cow gum. ( If you're my age you will know what that is!)
So that's my rug done and I'm thrilled with it. I may even make another larger one at some point, for the living room. I shall have to collect quite a few fabrics though. I think it would be nice if I used coat fabrics for that one!
Now, with all the off cuts I have from all those tee shirts , two projects are lined up to use them. The first being a hot water bottle cover, and I still have all the off cuts of hessian to use up too.
Speaking of hessian I thought I'd show you this, something I made in 1991....
...this is my "goody" bag, as the family affectionately call it. When we are away from home I use it to keep my craft project (I always take something away with me) my notebook, sketch book, pens, and other bits and bobs in. It is made from a piece of hessian and is covered in cross stitch. I used oddments of acrylic yarn which I had left over from making sweaters, ( and I made many in those days)...
....it's fully lined. I used a piece of curtain lining which I had left over from making a pair of curtains.....
...the strap is made from 3" wide webbing which was left over from a costume I made for a panto.
It's so nice getting to the end of a project, because there's all the excitement of beginning a new one!
Labels:
made do and mend,
make it yourself,
rag rug
Sunday, 2 September 2012
Projects, past present and future...an update
September already. Was it me or did August blow through like a gust of wind?
Well let's hope it keeps mild for a few weeks yet as we still have much to do in the back garden.
My projects for last month were all of the stitch/fabric variety. I never intended to do any paper crafting and I didn't do any, but there is some on the horizon for this month. With two birthdays coming up and we all know what else is figuring in the crafty world don't we! it's good to be organised, (that's me out then!)
Some items I've made have been used and worn until they are no longer serviceable but
I still have items which I made years ago, and one of those items is this....
...I made it in 1982 before our son was born. It was made from mostly scraps of fabric which were left over from other projects.
The front of the activity book was made from scraps of felt which I had left over from making some soft toys for my sisters children. I though a clown face would be good as a front cover. The next page is...
....a clock which has moveable hands, again made from scraps. The next page is...
...a pocket with zip and top flap. This was made from scraps of a dress which I made in 1979, ( I wish I had more of that fabric now!). On the next page we have...
....a little waistcoat with buttons. Again, the fabrics were left overs from a skirt and lining of a jacket. The buttons were from my button box. The next page reveals..
...a shoe complete with lace. The felt was from a past project and the lace was some which were in the house at the time. ( There were always spare laces in the house then) The base of the activity book was calico and the pieces which I used were leftovers from a play mat which I'd made. We no longer have that!
This book is still played with by the grandchildren, it's well used and they love it! I certainly got my monies worth from those fabrics didn't I?
Today, I'm finishing my rag rug. I still have some to do but I'm hoping to get it done by the end of the week. I haven't begun the beading work on my Christening gift yet. That's the next thing on the menu. I have managed to get some of these all ready
....
...I'm trying to have some ready and not make to order as I did last year.
I also have all my fabrics ready to make some place mats. My desk is clear ( almost)
so I shall be ready to get cracking with them by Wednesday, hopefully.
Happy crafting one and all!
Monday, 20 August 2012
Artistic license... I mean I do it my way!
The rag rug for my craft room is coming along nicely. I'm not spending all my time doing it, especially whilst it's been so warm, as I do have other projects on the go too! So here's the update.....
....I'm not expecting to fill the whole frame ( I'd need a lot more tee shirts for that!) but, it will be a good size when it's finished. As you can see I work from the back. This is the way I was taught to make these peg rugs.....
...you make the hole in the hessian with your chosen rag tool, (more on that in a while) push one end of the strip into the hole, a few threads along make another hole and push the other end of the strip into that hole. Try to make the ends as level as you can. ( I know I shall have a few to trim up as they've been cut a bit too long) and this is what it looks like...
..there are no rules, move over the hessian any way you want......
....as long as you are keeping the lengths between holes as equal as you can. Now, when I was growing up, these types of rugs were called peg rugs. The reason being is that mainly this was used as the rug making tool....
...these are in fact original pegs from the 1950's. They belonged to my late mother, and I have a box full of them....
...to get back to the pegging tool, one of the "legs" was cut off the peg and the remaining leg was sharpened to a point so that it could be used to pierce the hessian. That is how I made my first pegged rug when I was about 10, and it stayed in our kitchen for about 10 years. This is the tool I use now....
..it's has a very short handle which helps as I have arthritis in my fingers. So, I'm really pleased and hope to get it finished in the next week. I decided to go with a random pattern, and patches of colour. I didn't want straight lines or a shape. That's the thing about doing it your way! I have been thinking ahead though, and have begun making these.....
....ready for you know what. I'm trying to be organised, for a change!
....I'm not expecting to fill the whole frame ( I'd need a lot more tee shirts for that!) but, it will be a good size when it's finished. As you can see I work from the back. This is the way I was taught to make these peg rugs.....
...you make the hole in the hessian with your chosen rag tool, (more on that in a while) push one end of the strip into the hole, a few threads along make another hole and push the other end of the strip into that hole. Try to make the ends as level as you can. ( I know I shall have a few to trim up as they've been cut a bit too long) and this is what it looks like...
..there are no rules, move over the hessian any way you want......
....as long as you are keeping the lengths between holes as equal as you can. Now, when I was growing up, these types of rugs were called peg rugs. The reason being is that mainly this was used as the rug making tool....
...these are in fact original pegs from the 1950's. They belonged to my late mother, and I have a box full of them....
...to get back to the pegging tool, one of the "legs" was cut off the peg and the remaining leg was sharpened to a point so that it could be used to pierce the hessian. That is how I made my first pegged rug when I was about 10, and it stayed in our kitchen for about 10 years. This is the tool I use now....
..it's has a very short handle which helps as I have arthritis in my fingers. So, I'm really pleased and hope to get it finished in the next week. I decided to go with a random pattern, and patches of colour. I didn't want straight lines or a shape. That's the thing about doing it your way! I have been thinking ahead though, and have begun making these.....
Labels:
frugal,
made do and mend,
rag rugs,
thrift
Tuesday, 7 August 2012
Strips, stacks and ready to go!
Well all the tee shirt pile has now been cut into strips for my rag rug....
...all sorted into colour piles ready....
...I've decided not to use any of the striped fabric in this rug. I think I'll use them for something else, at a later date.
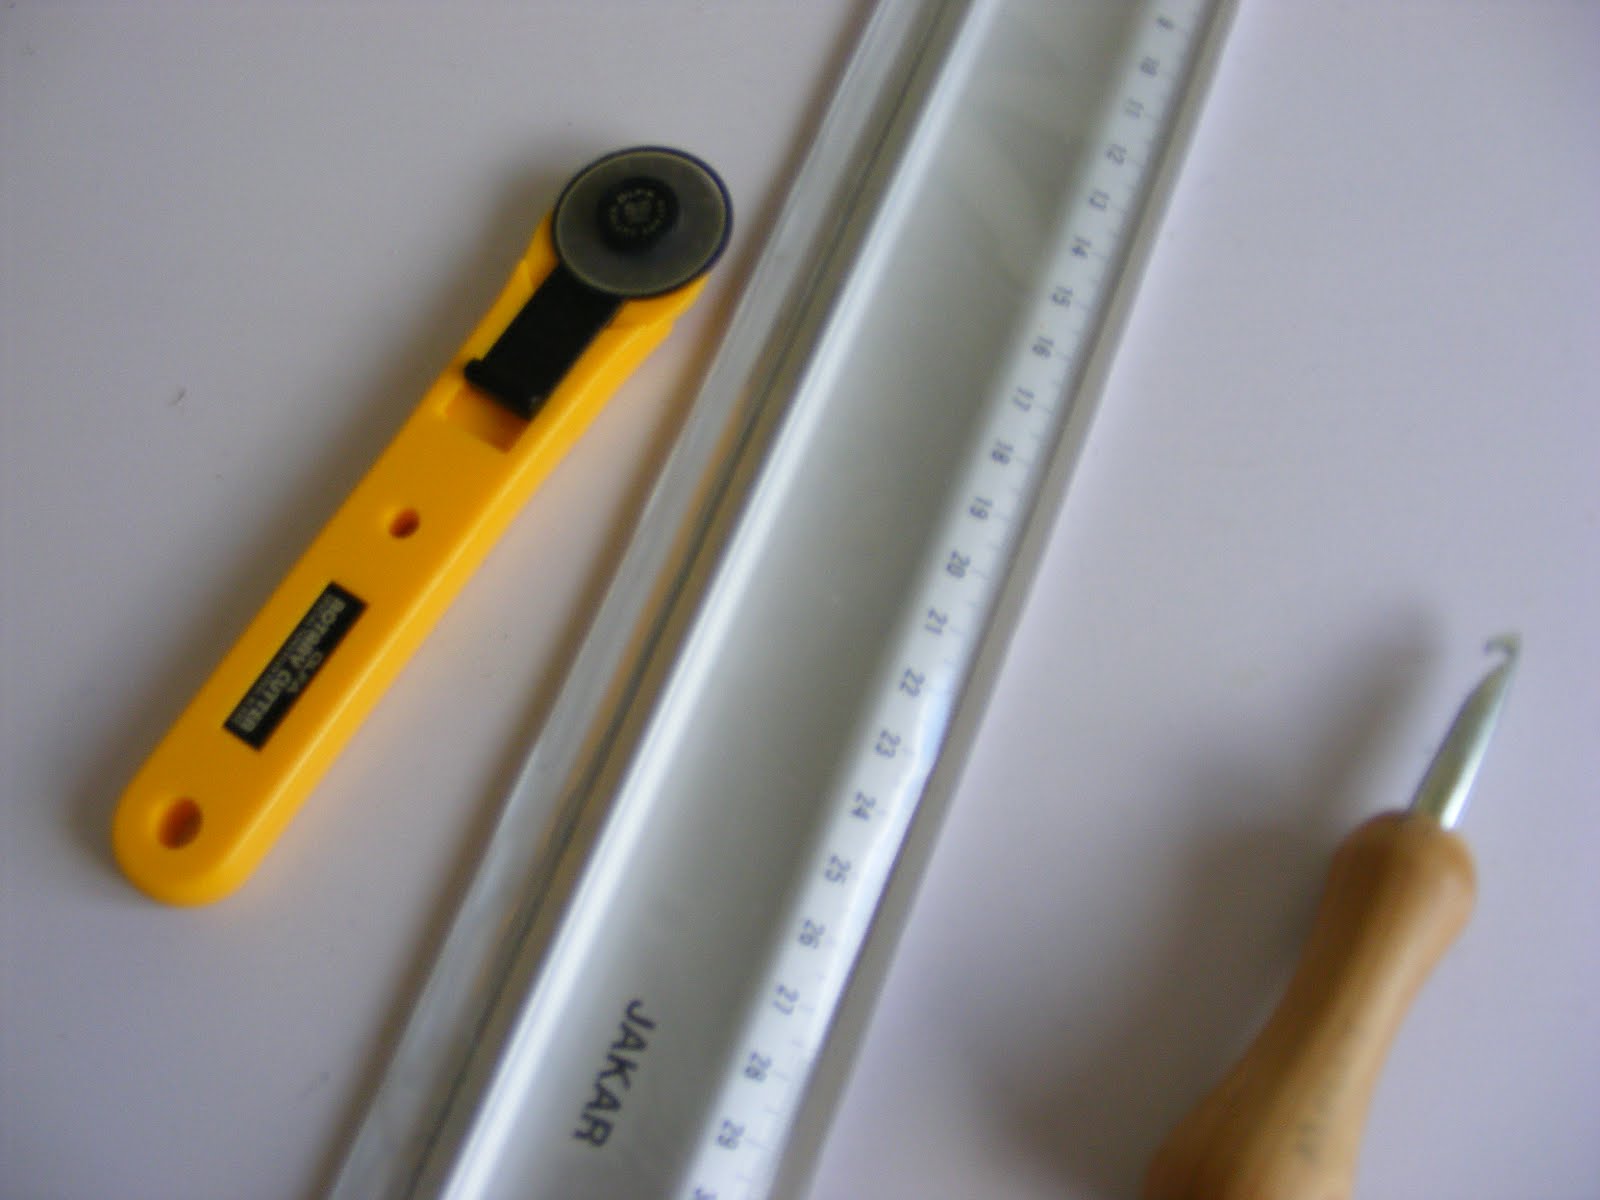
I used my rotary cutter on an A2 self healing mat and a large metal ruler, one we usually use for picture framing to cut all the pieces. With the fabric being 100% cotton there was quite a lot of fluff flying about, my desk was covered. But, it soon cleaned up.....
... One thing I will mention is that because I also use my mat for paper craft I made sure that I cleaned it well. Because if it's left it could cause heaps of problems when trying to cut nice neat lines on card. Take a look...
...all those cotton fibres which are trapped in the cut will stay there and the surface will be uneven and not very nice. So I cleaned it with a washing up scourer and warm water. It ended up like this.....
...It only took five minutes. If you use your mat just for fabric, well I suppose it doesn't really matter.
Anyway, this is all my waste from all that cutting.....
...I put it in this veg storer whilst I was cutting away, to catch it all. Is it waste?
Will it end up in the recycling or on the compost? No, I'm going to try and use it all, ( if I can). The rug which I am making is for my little craft room. The old fitted carpet is being taken out, ( it's been in there for a number of years) and it's being replaced with some vinyl flooring. (I'm hoping to get an off cut reasonable cheap from somewhere as it's a small room) Then at least I have a wipe clean surface for when I'm on messy or wet projects. So the plan is for the waste from my tees to be used as place mats, or coasters, I'm not sure yet, but I'll find a way of utilising them.
If you're wondering if I've spent any money on materials for this rug, well the answer is not really. The hessian I've used for the backing was from a huge piece which was given to me. The tee shirts were all ours , worn until they no longer fit, out of shape, or whatever. The wood for the frame was off cuts from one of our gardening projects. I don't count the cost of my time, as I feel that any time spent doing anything creative is more than worth it.
Now I just have to decide on a pattern. I'm going straight on to the hessian, from the centre and see what shapes appear. That all begins this evening.
Labels:
fabric,
frugal,
make do and mend,
recycling,
rug making
Friday, 3 August 2012
Felt, fibre, fabric, frames...and files!
August, already, how did that happen so quickly?
Well this month I'm concentrating (mainly) on all things fabric. I am working on a scrapbook, well more of a "special memory" book. But I have at least eight weeks to complete it. so I'm taking my time, selecting my photographs and putting my elements together bit by bit.
Now... on to all things fibre related.
The first project I'm working on is a Christening gift.....
.....I never make cards for family Christenings, I prefer to make a lasting gift. This one is a cardigan and booties set. It will be embellished with tiny glass beads, ( not for wearing of course) a keepsake. Once completed and it has been given as a gift I shall post pictures of the completed set.
My next project is also in pink......
.....a quilt. I have selected some more pink fabrics and coordinating patterned fabric since I took the picture, and they all match perfectly. This project will take me quite a few months, but that won't matter.
Something else I'm doing is playing with colour and texture.....
...but I am only "playing" at this stage! There's more to come with that project too!
The garden is full of such glorious colours. Some of my absolute favourites are Heucheras and Hydrangeas. They are such beautiful blended colours....
...my favourite colour is green, but I also love autumnal colours and blues and purples.....
......so I'm trying my hand at making some felted autumn leaves and hydrangea flowers using this gorgeous selection of wool tops.....
......it will be so much fun!
For quite a while now I've been saving old tee shirts/tops and fabrics to make a rag rug. I haven't made one for about 20 years but I think my stash of fabrics is growing.......
.........
.....so I shall set aside a couple of hours or so to begin cutting the strips. Neither my grandmother or mother used a frame for pegging rugs but I've decided to give it a try. This frame measures approximately 40 x 30 inches.....
..... I can't make my mind up whether or not to draw a design on the hessian or just dive straight in. The last one I made I just did blocks of colour. Decisions! I'll give it some thought once I've cut the strips and see what I have.
There is one thing which I must do and that is sort out my files on my laptop. When I take pictures I always put them in files by months. Then every couple of months I would (usually) re file them into their categories, (family, sewing, plants etc) well it's now August and I have from April to do! I really need to be more organised with them don't I?
That should keep me busy for a while, or should I say, for August!
Saturday, 21 July 2012
Labours of love
It was back in early June when we'd decided that the garden patio set needed a coat of paint. With it being cream in colour it had weathered quite a bit,(not surprising after all the dreadful wind and rain it's had to succumb to!
We bought a tin of this paint....
...and I began to tackle the job. Mick said that he would do the painting, but I was adamant that I wanted to do it. By the end of the first coat I was wondering to myself why I had been so eager. I must say, it felt like I was painting the Forth bridge.
"Why didn't we buy spray paint?" I asked myself. But to be honest, I'm not that keen on spray paints, and I'd certainly make a mess with that, so that answered my question.
So in between all the thunder, hail, wind and rain we've had over the last couple of weeks, the set had two coats of the creamy paint.
...Stands back, admires work.... then I thought to myself " Now it looks a bit flat!"
It looked too bright, ( well, isn't that what I wanted?) yes but... it looks too bright.
By this time Mick was beginning to think I'd gone barmy. " I thought that's how we wanted it" he said. Well, yes, but. Then I had an idea, but if it didn't work (and it looked a mess) it would mean that I'd have to repaint the set all over again. Do I..don't I? Yes, do it!!!
Right, off to my collection of paints I go and find this little pot of magic....
.....it's colour is Antique gold. In my brush box I found an old children's paint brush. Yes, I've had it since our children were small, (I don't discard anything if I think it will be useful) I wasn't going to use any of my nice newer brushes for this job!
It didn't take much paint, I only used about a quarter of the small pot for the whole job. Beginning with the table I dry brushed the gold paint over the cream. I didn't want to cover the cream just add it along edges and also to the floral work at the base of the table and back of the chairs....
.......
When I first began putting the gold paint on it looked very dull....
....had I made a mistake in trying this?
...carry on until it's all done.. wait for it to completely dry....
...then make the decision, yes, that's what I'd do.
Well, it's turned out wonderfully. The pictures don't really show how "gilded" the set looks. In fact I was so pleased we now have a "gilded" cage too...
All that's needed now is to cut the plexi glass circle to fit on top of the table. I do use a table cloth which has matching seat pads which I made a while ago. But to ring the changes we shall use the clear top and I shall make another set of cushion pads, ( fabric from my enormous stash which I've collected over the years) I have some gorgeous Oriental fabric with gold running through it, I may just use that!
Then all we need is some warm sunny and dry days so we can sit back and enjoy the fruits of my labour...please!!!
Subscribe to:
Posts (Atom)